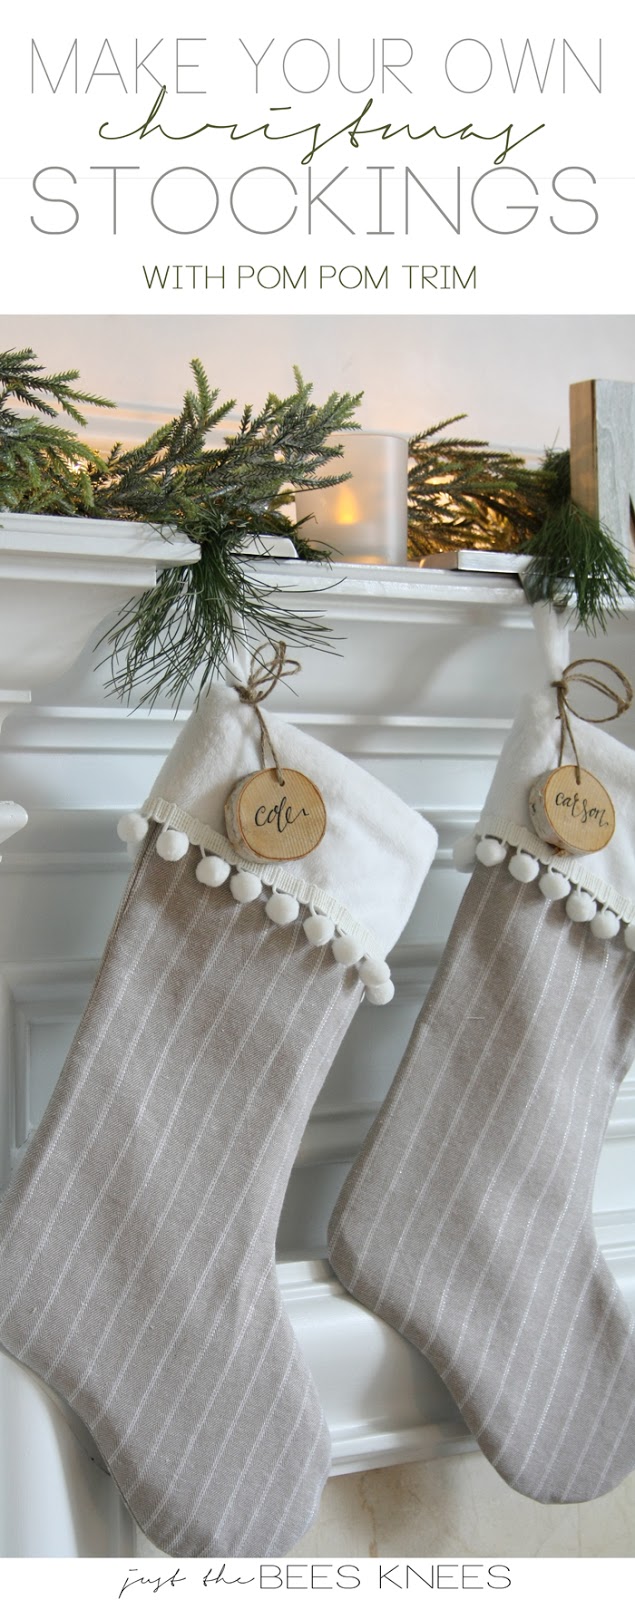
DIY Pom Pom Trim Stocking Tutorial
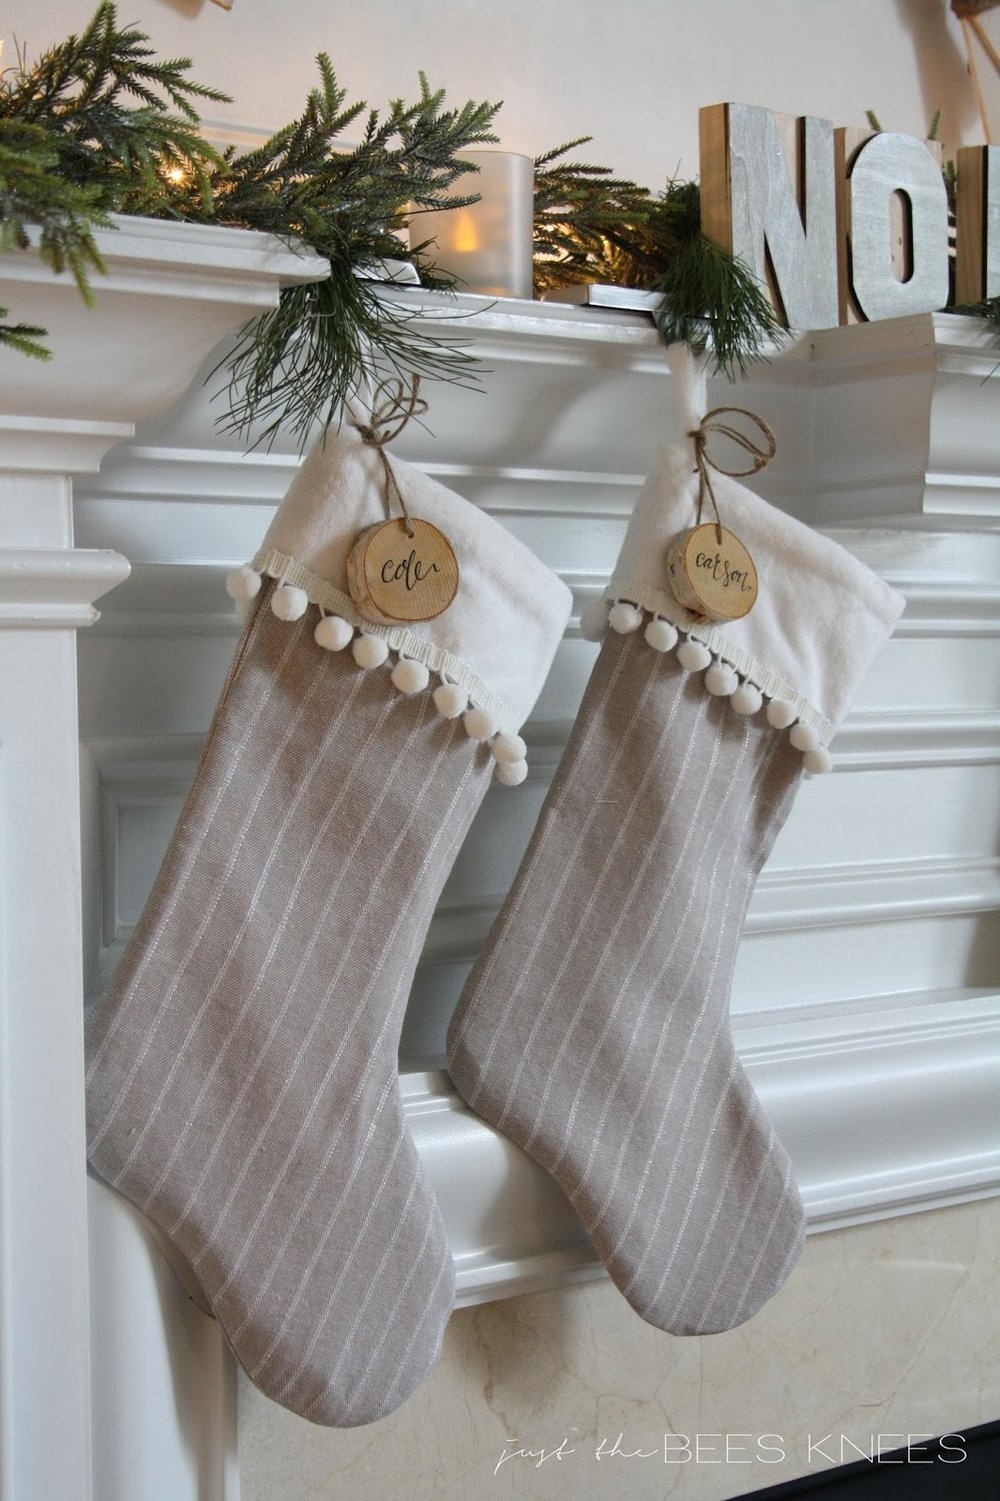
For the last few years, I've been wanting to make some new Christmas stockings for our family, but never fully got around to it. So when I decided to finally paint my living room this fall, it gave me an incentive to bust out the sewing machine and actually do it! I've been eyeing the pom pom trimmed stockings at West Elm, (which are now sold out!) so I knew that I wanted to make something similar, but with my own special touch. I found a fabulous linen fabric with a thin metallic stripe through it and knew it would be perfect for this project!
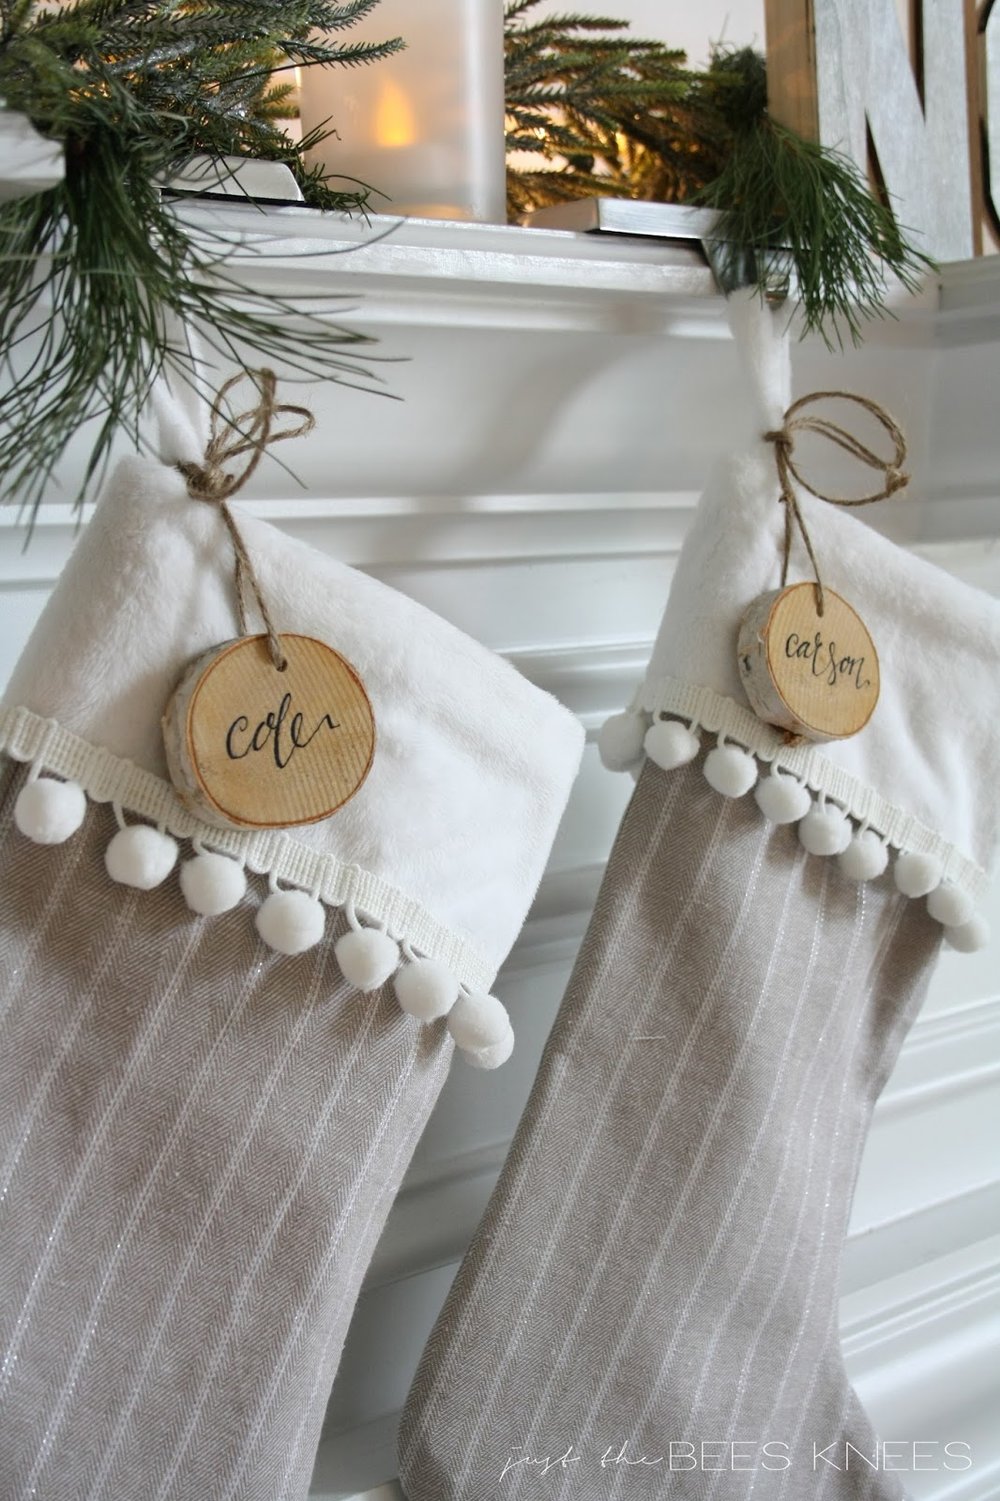
GAH! I'm in love.
And you know what else I love?! Just how darn easy these were to make. I read a few tutorials online, and adapted my stockings from this one on Fabric Worm. To make my version, go on over to their site and print out the pattern first. Read their tutorial too! It's perfect if you are using a lighter quilting fabric and want to add batting to your stocking.
What you need for each stocking:
1/2 yard of fabric
1/2 yard of lining
1/2 yard of pom-pom trim
a 16" x 4 1/2" piece of minky or felt for cuff
6" piece of ribbon
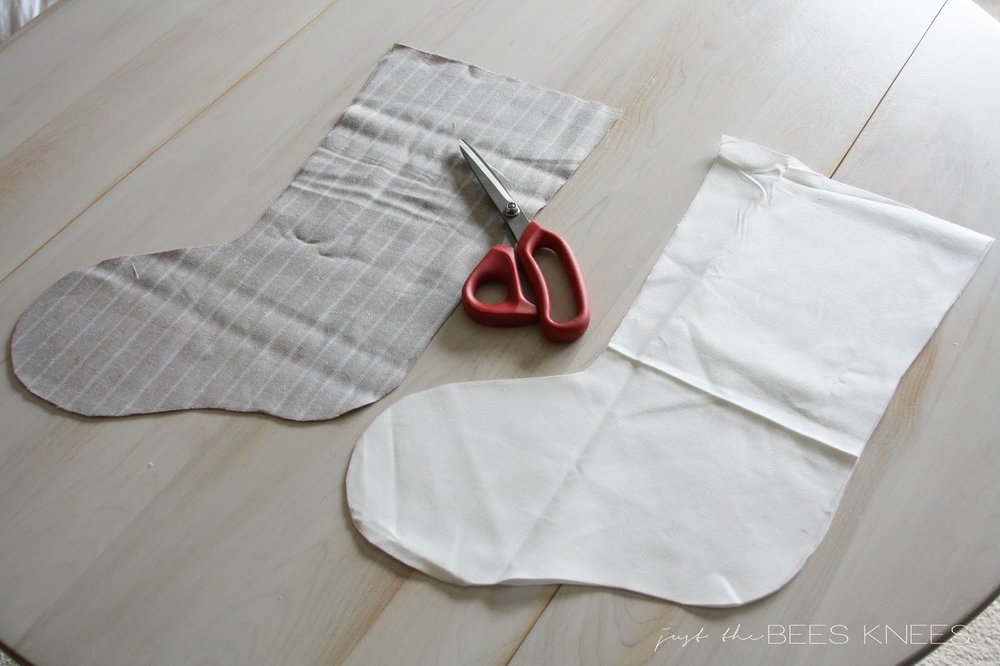
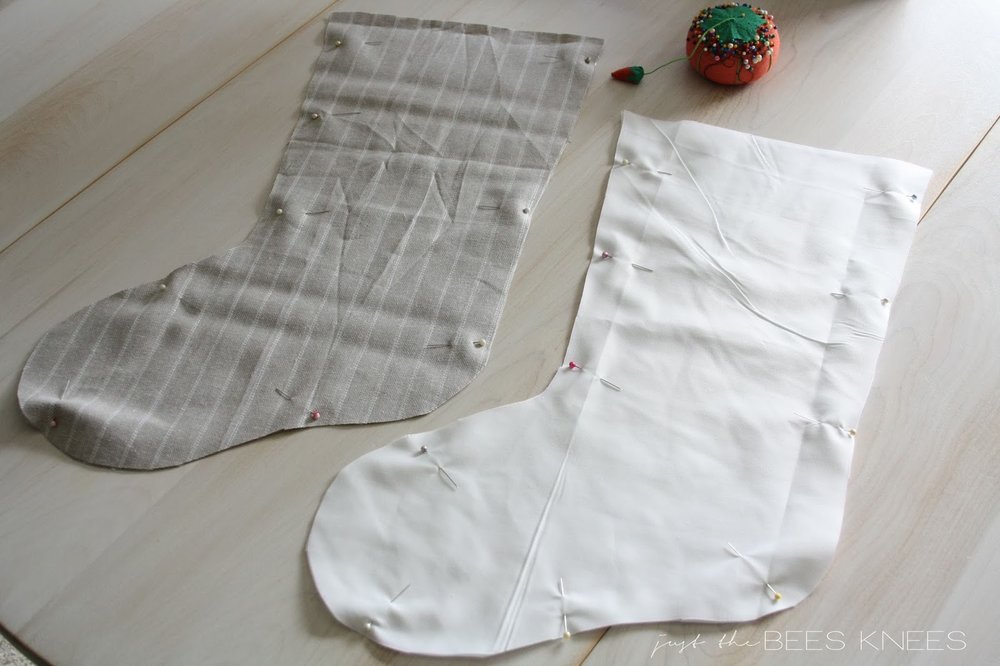
After you have your stocking pattern ready to go, simply trace it onto your fabric. Make sure right sides are together and the fabric is folded in half so when you cut it out, you have 2 pieces. (I was also careful lining up my paper pattern with the stripes in my fabric so I didn't end up with any wonky looking stockings!)

Do the same for the lining.
Pin the pieces together, then stitch a 1/2 seam around the stocking leaving the top open.
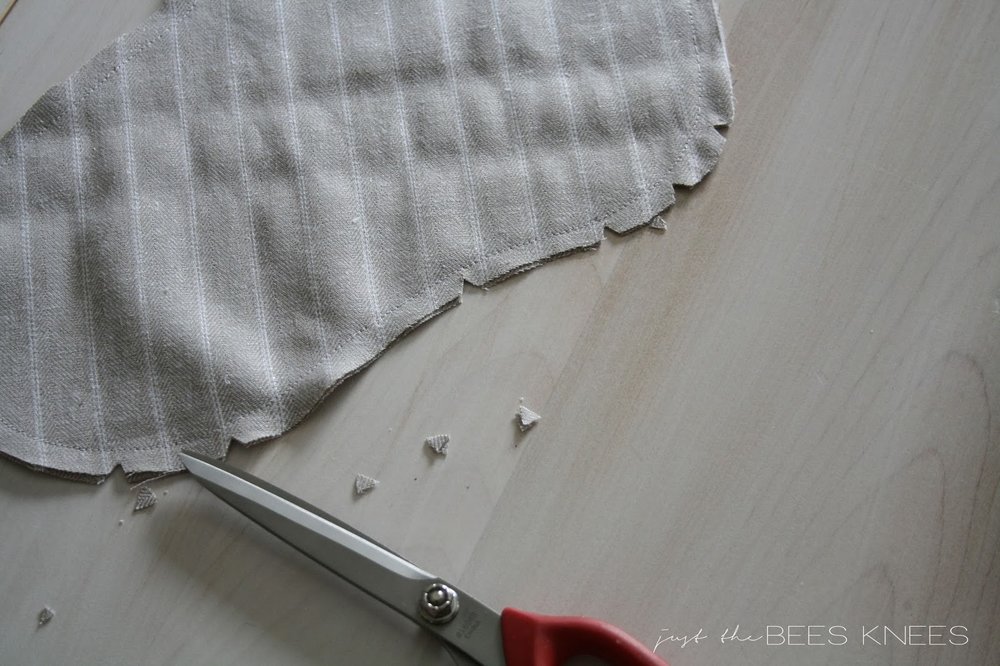
After your stockings are stitched, press the seams for the outside piece and turn inside out. I like to cut a few notches around the curves so it takes away some of the bulk.
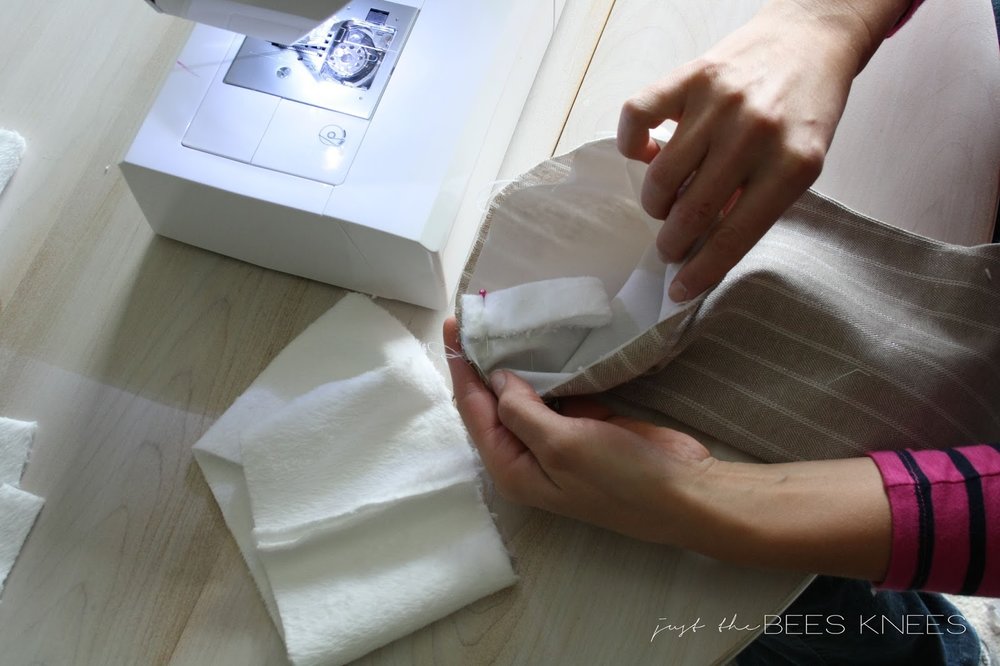
Take your lining piece (don't turn it inside out! just leave it as is when you stitched it) and place it inside your stocking.

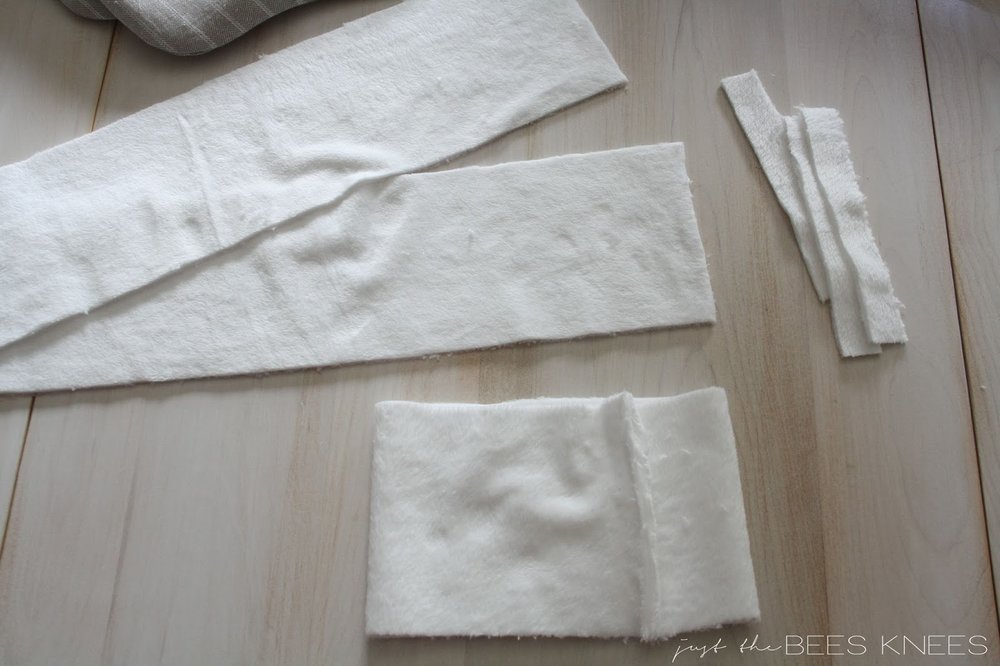
Now we are going to make the cuffs and the hangers. I used a piece of white minky-like furry fabric that is double sided, but a nice piece of felt would work too. If you want to use a different piece of fabric that is NOT double sided or reversible, make sure to follow the fabric worm tutorial.
Cut a 4.5" x 16" long piece of the fabric for the cuffs, and a 3/4" x 6" piece for the hanger. You could also use a piece of ribbon instead.
Sew the ends of the cuff together to create a band.
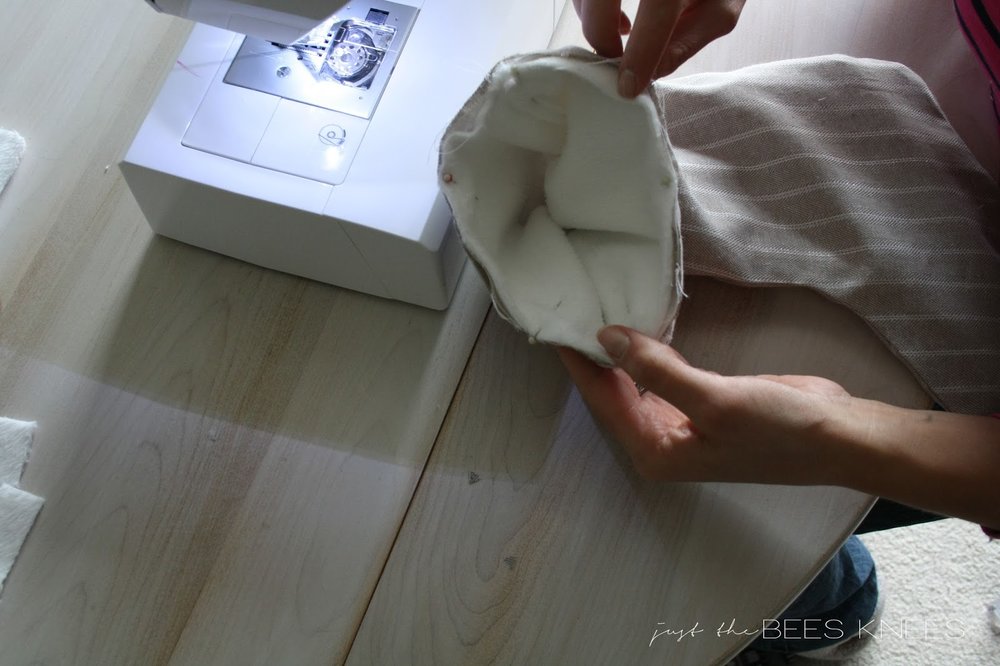
Now we are going to put it all together. I started by pinning the seam of the lining along the seam of the outer piece, just to keep everything in place.
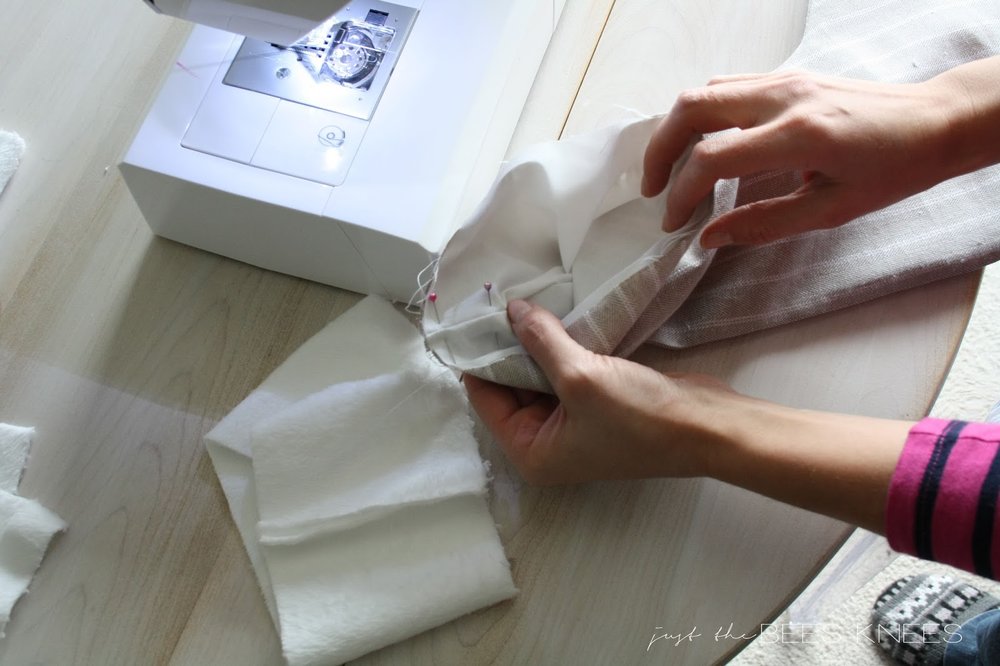
Next we are going to place our hook. Fold the strip of fabric or ribbon in half, then place UPSIDE DOWN in stocking along the back seam with the loop end facing down. Pin in place.
Next, turn the cuff inside out and place inside the stocking with right side facing in, against the lining, matching up the seams. Pin in place along the top of the stocking so the outer piece, the lining, and the top of the cuff line up.
Stitch a 1/2" seam along the top of the stocking.

Flip cuff inside out and hot glue the pom pom trim on.
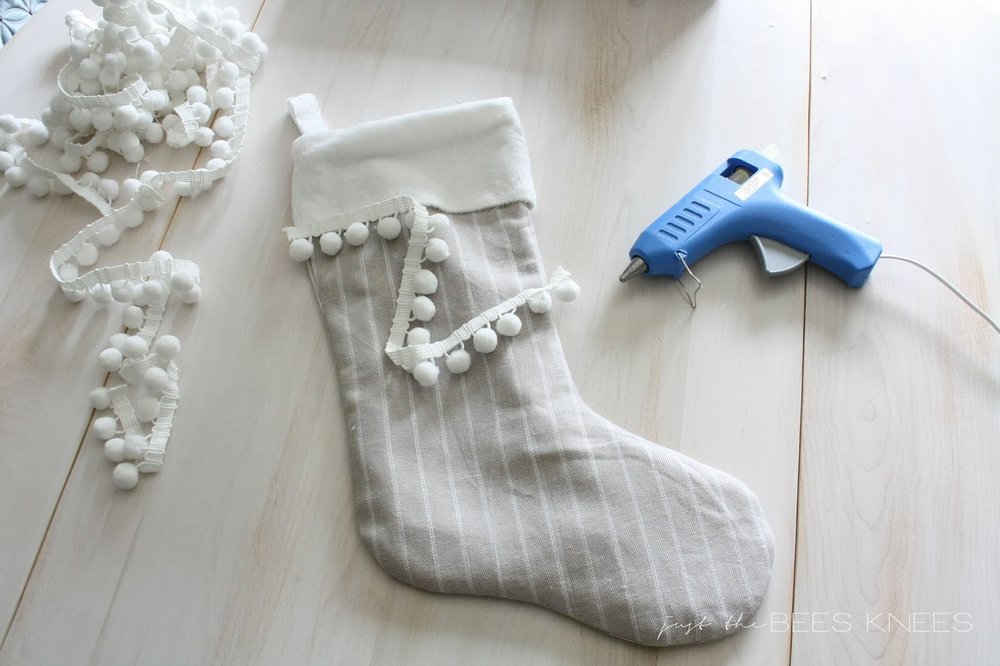
Pretty easy, right?! If you can sew a straight seam and operate a glue gun, you can make these stockings.
For the finishing touch, I added some custom tags using birch slices and a sharpie, tied on with some jute.

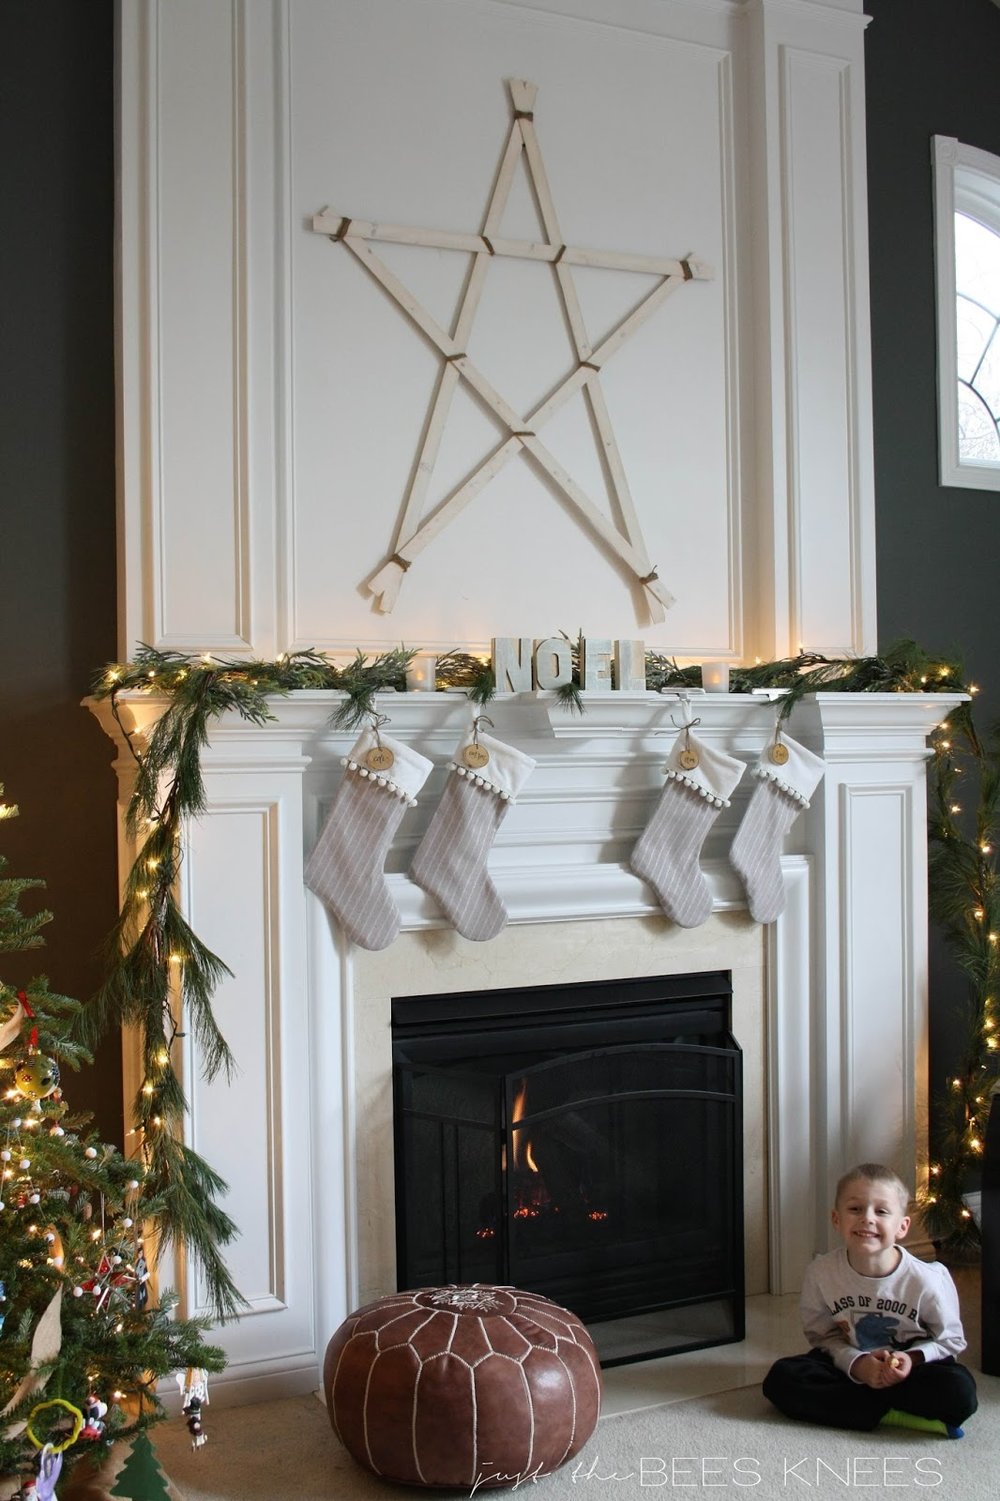
Someone can't resist popping into my shots:) Every.Single.Time. How can you get mad at this face?! sigh.
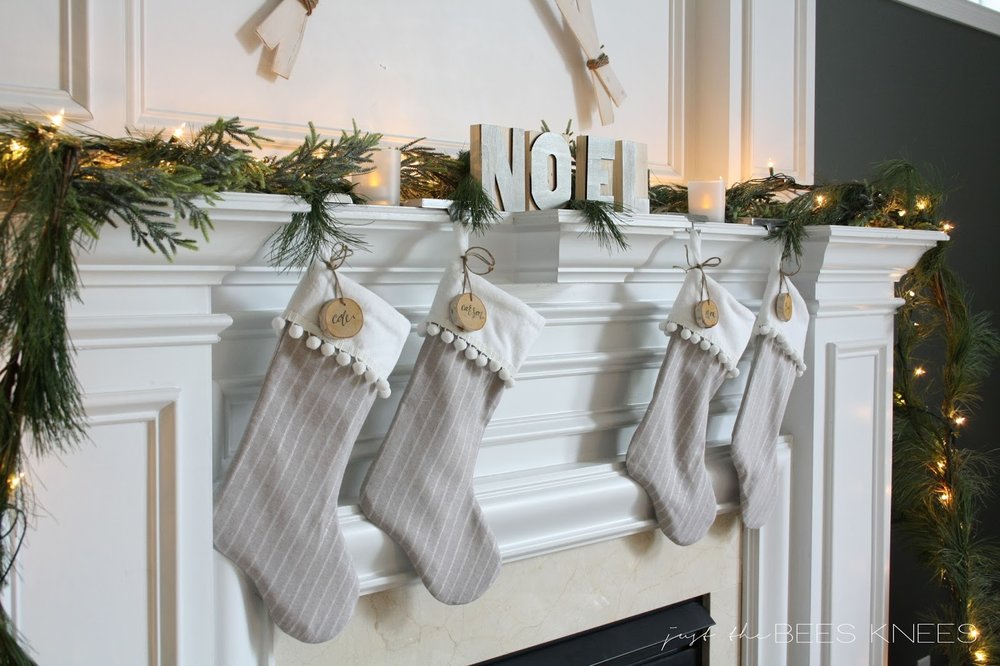
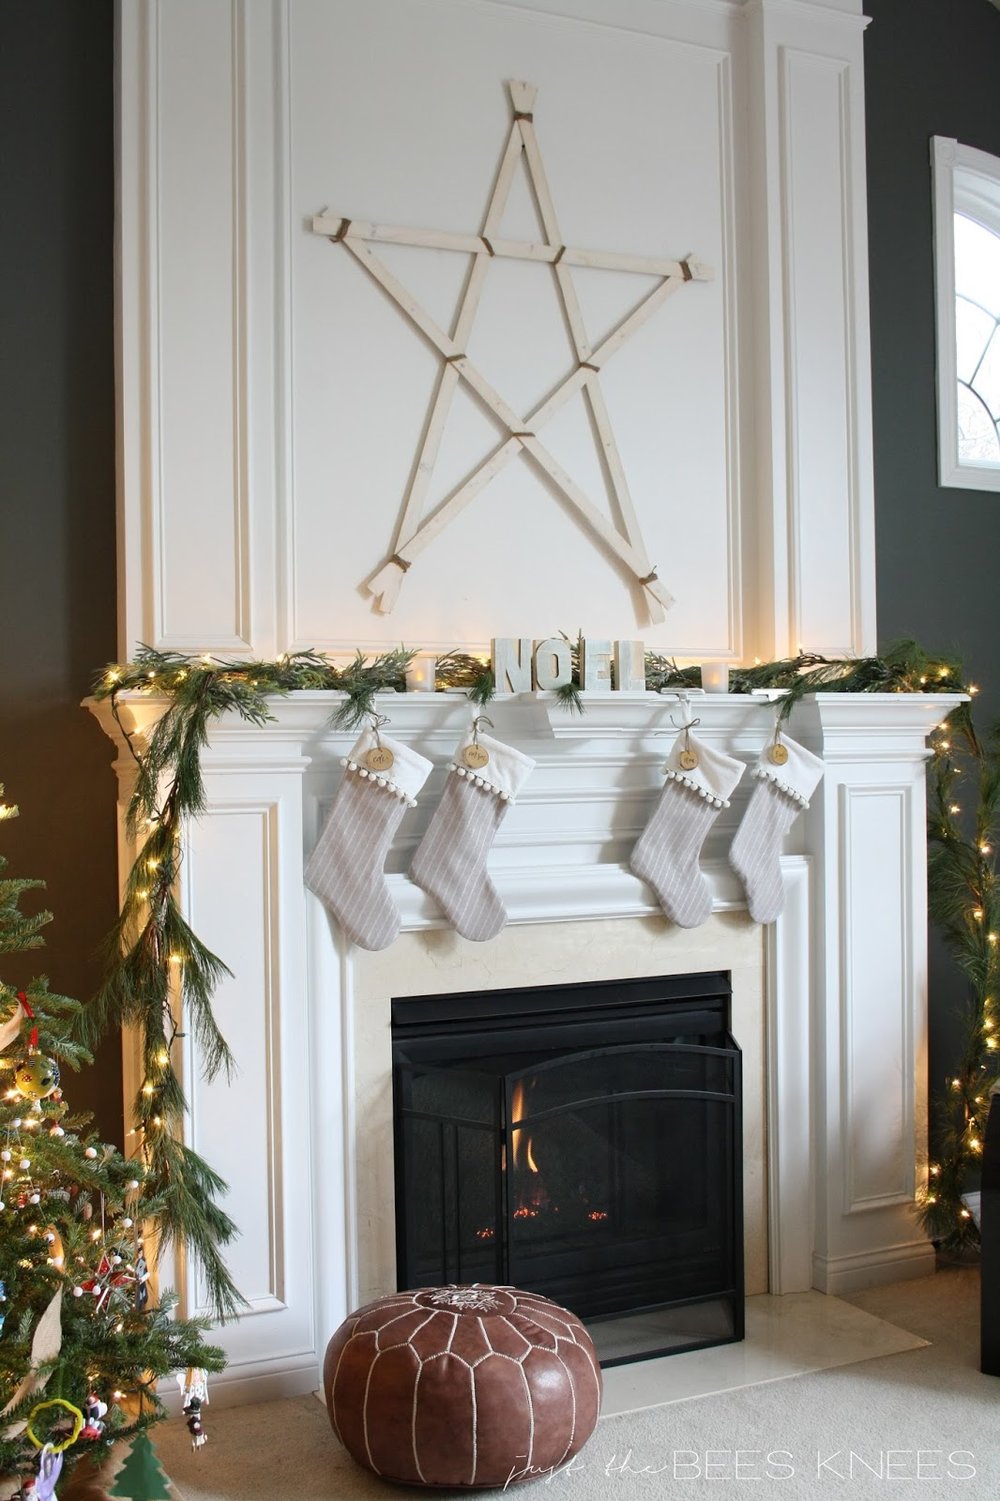
And heres a sneak peek at my full fireplace mantle and new moody gray walls! I will be sharing my holiday home tour next week, so stay tuned for more pics.
Happy Holidays!!