
Every Day Design Dilemma: Gallery Walls Part 2 ~ Installing your Gallery Wall
Last week I introduced you to this 3 part series on Gallery Walls, and talked about how to plan your own gallery wall. Hopefully I gave you lots of inspiration to start collecting art and frames to curate your own collection! In case you missed it, click here to get caught up!
This week I'm going to be giving you some tips and tricks on how to install your gallery wall without turning your wall into a piece of swiss cheese.
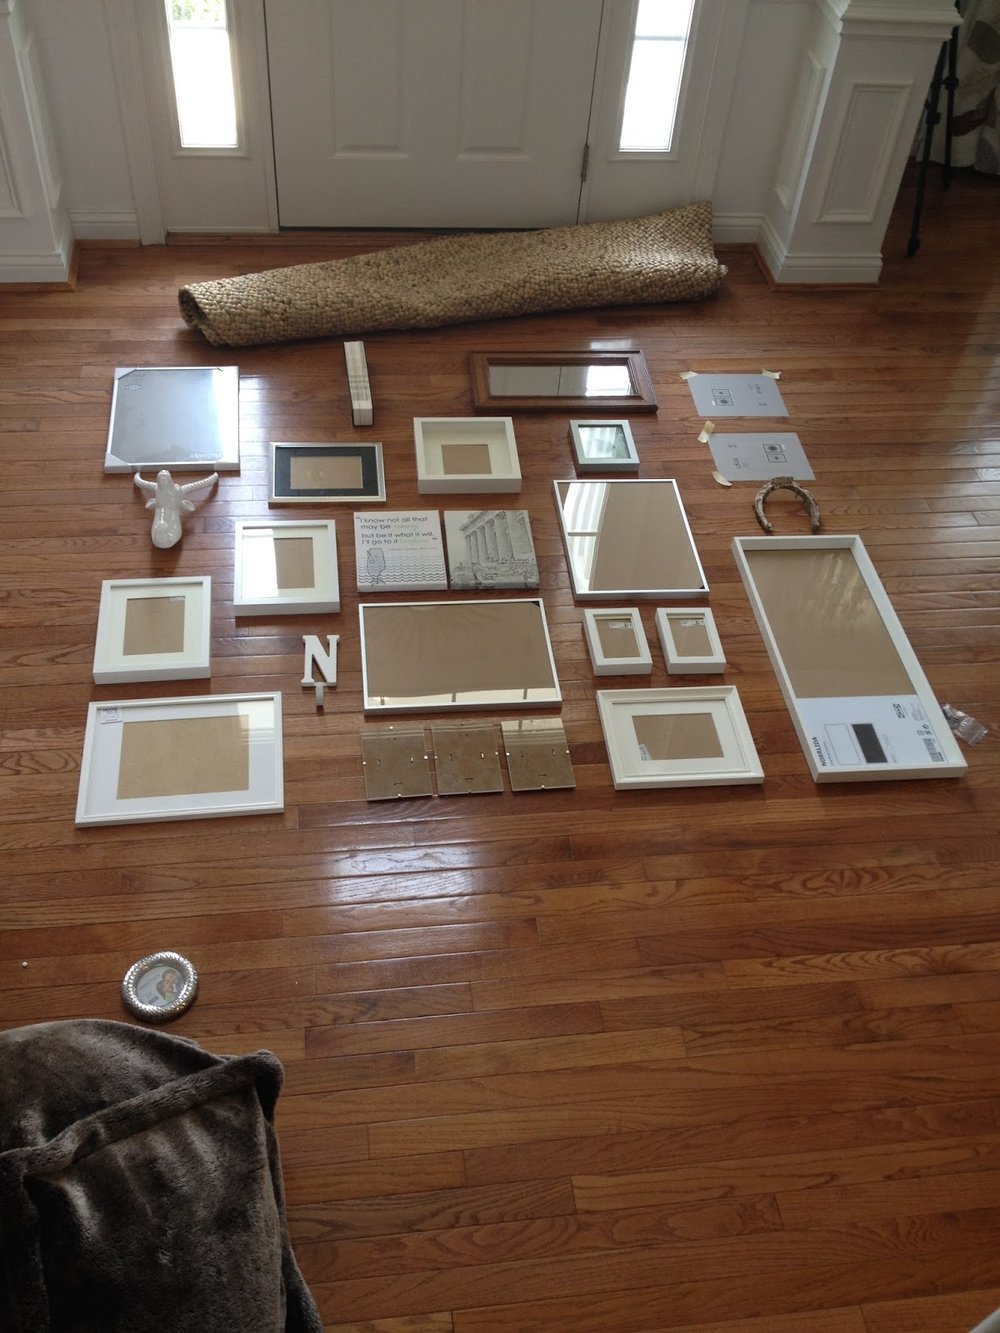
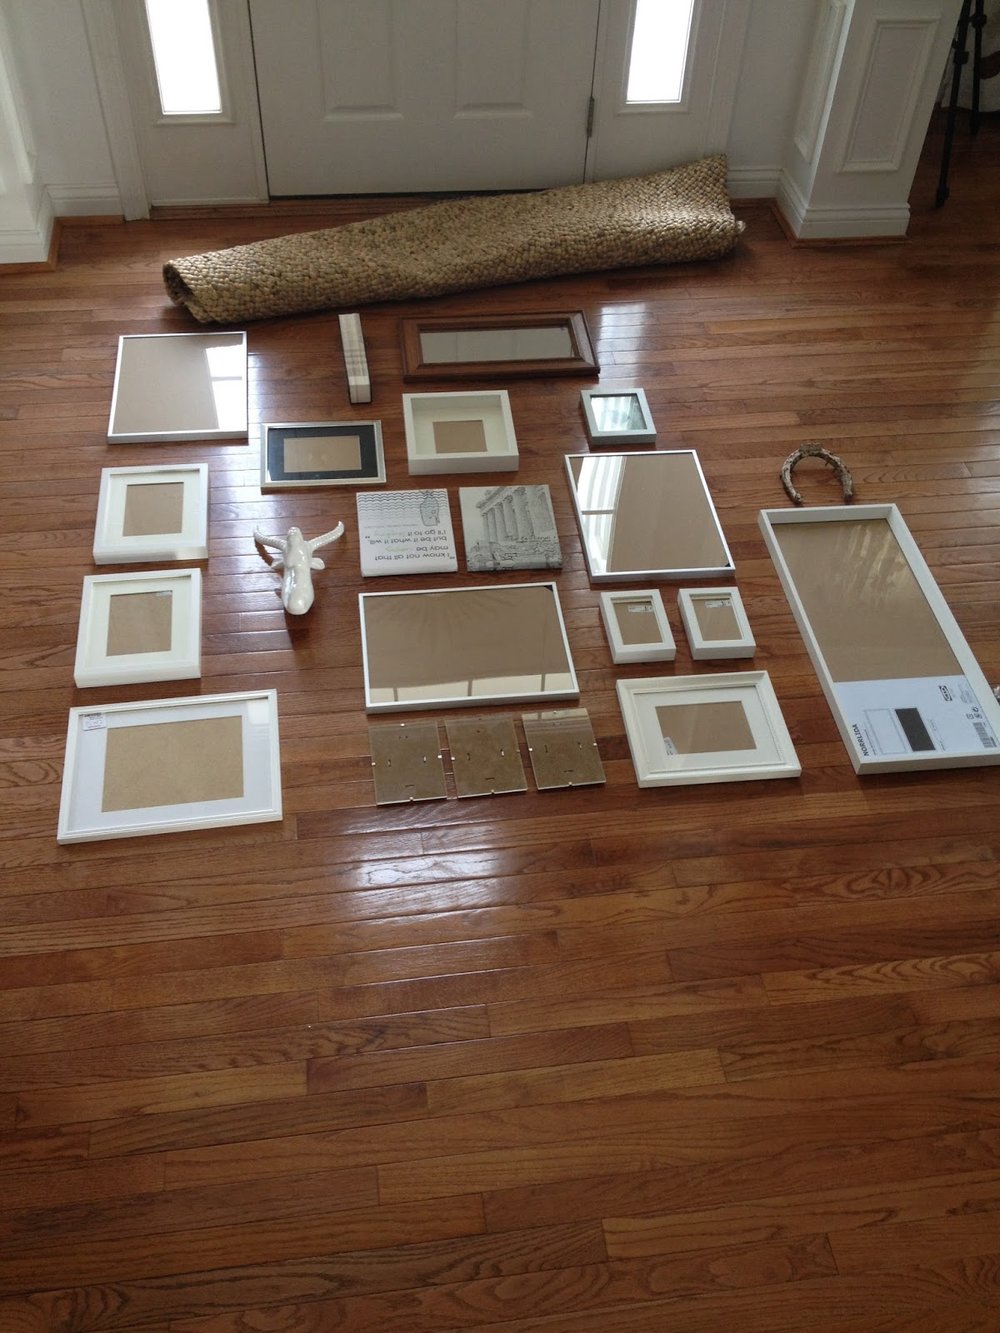
First things first; when you have all of your frames ready, lay them out on a section of floor the same size as your wall space where your gallery is going to go. This will help you to easily decide on & tweak your layout. Here's an example of how I laid out mine. You can see that I could easily re-arrange it until I was happy with the layout.

Now that you have your layout figured out, It's time to make a template and transfer it to the wall. Theres a few different ways you can do this. I took out the inserts to my frames (since they were all new) and simply taped them to the wall using masking tape or painters tape. Just keep in mind that depending on the thickness of your frame itself, the insert will be slightly smaller. Most of my frames were fairly thin, so this method worked out fairly well for me.

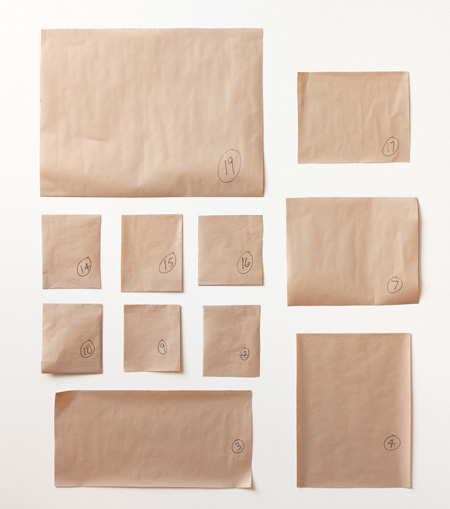
Alternatively, you could trace your frames with butcher paper via House and Home,
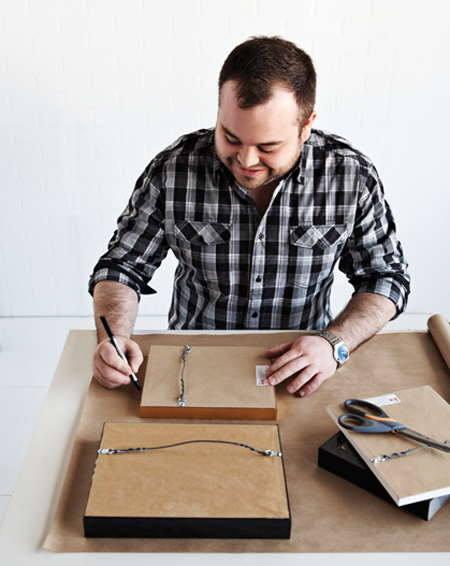
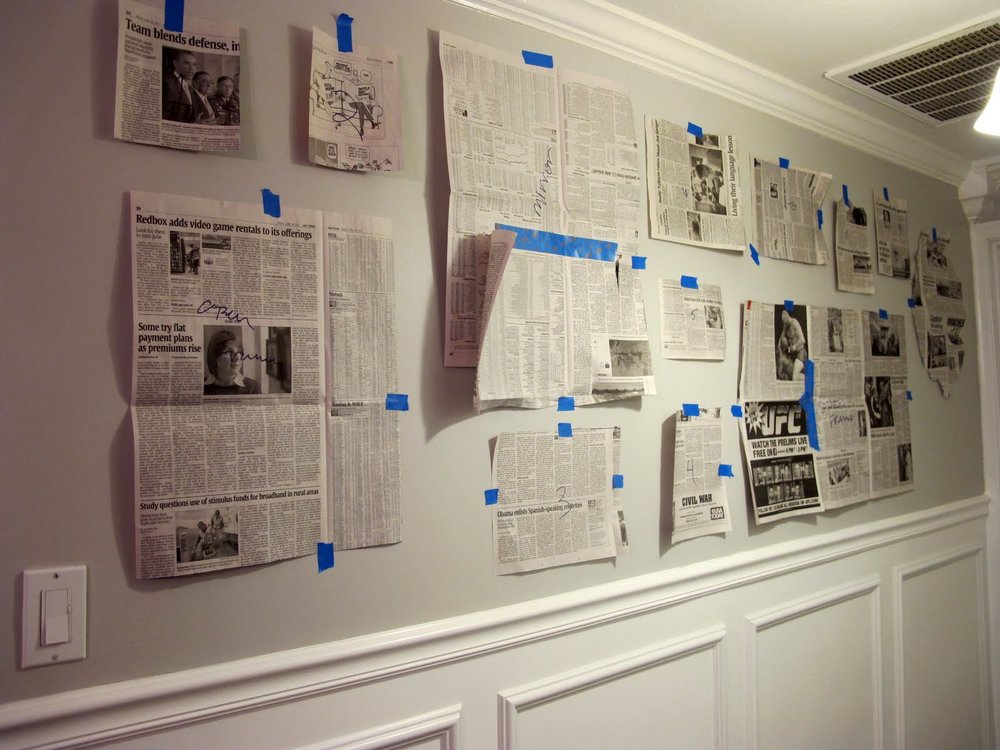
or even newspaper like Adri from Dream Book Design did.
Here's some other great ideas form around the web that you can use as well.
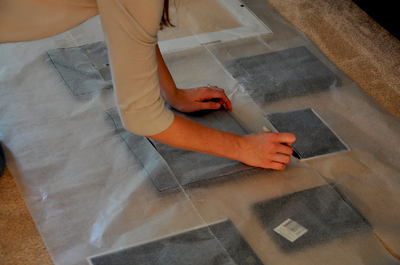
Marissa Wadel layed her frames face down in the layout she wanted, then rolled out a large piece of wax paper over top. She then traced the frames AND marked the hangers, then taped the entire thing on the wall. She then nailed her hangers right over the markings in wax paper, ripping it down when she was finished.
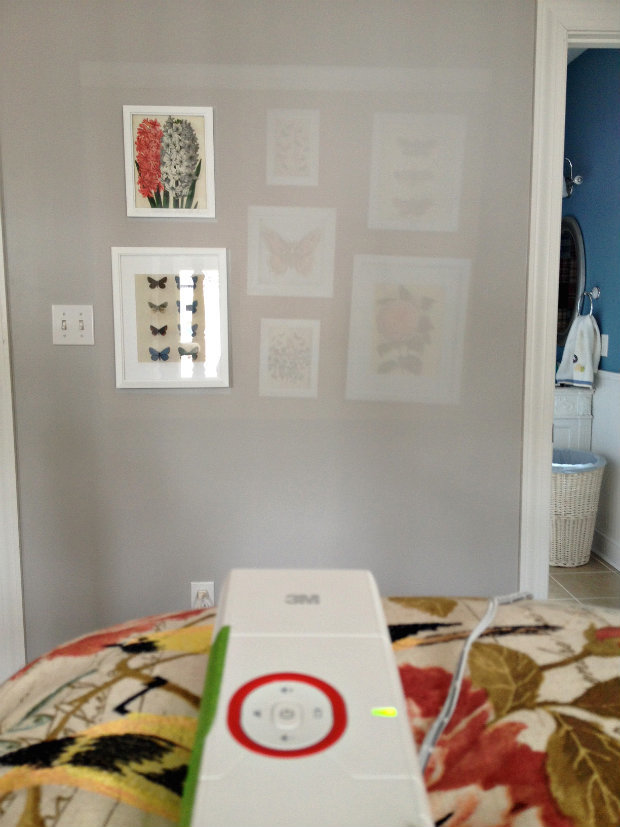
Beth from Home Stories A to Z had a great idea to use her projector to help her hang her art. She first took a picture of her frames laid out on the floor, then projected it onto the wall.
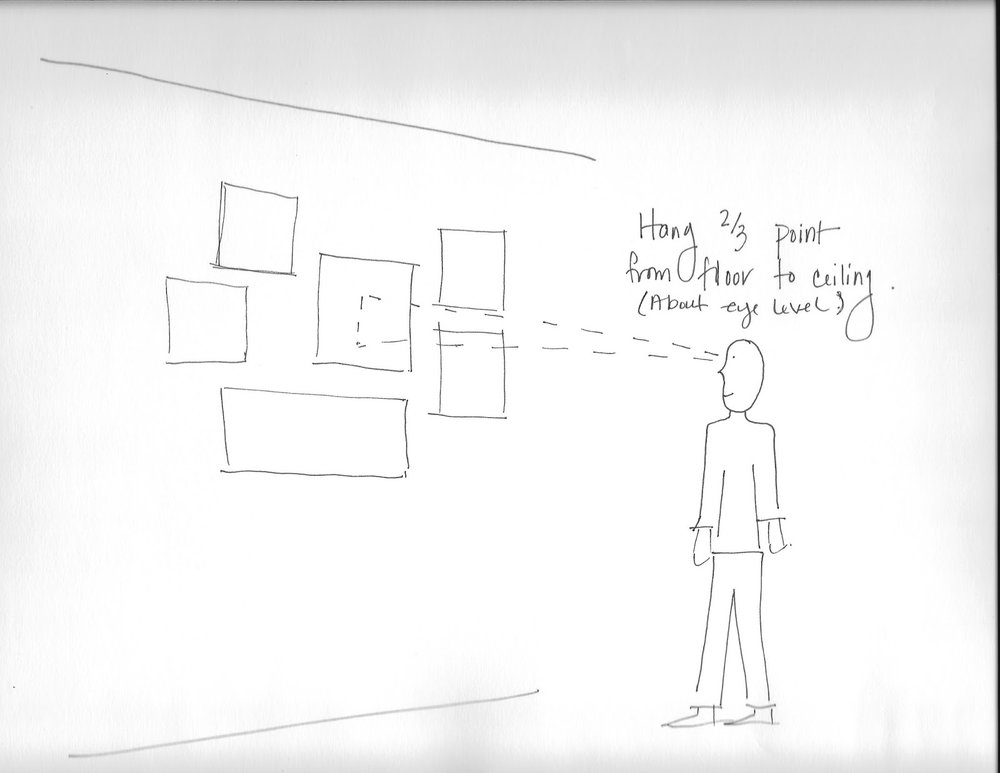
Wondering where on the wall to hang your gallery? A good rule of thumb is to center your gallery at eye level, or at about 2/3 the way up the wall. This works great for blank walls with standard 8 foot ceilings, but you may have to adjust some if your ceilings are 12', or if you have molding on the bottom half of your walls like I do. Here's a very crude sketch I whipped up as an example.
As far as the spacing of the frames is concerned, its really up to you, but I would make sure to keep it consistent. And just be sure not to space them out too much. 2-4 inches max or your wall will look to much like a sporadic scattering of frames instead of a collection.
Now lets start nailing!! This can be the trickiest part if you are not fully prepared. Since I have a variety of frames, they all have different types of hangers. Some are wired, some require screws and others have a simple hanger on the back. To make it easy to figure out where to nail the hole, I whipped up one of these puppies.
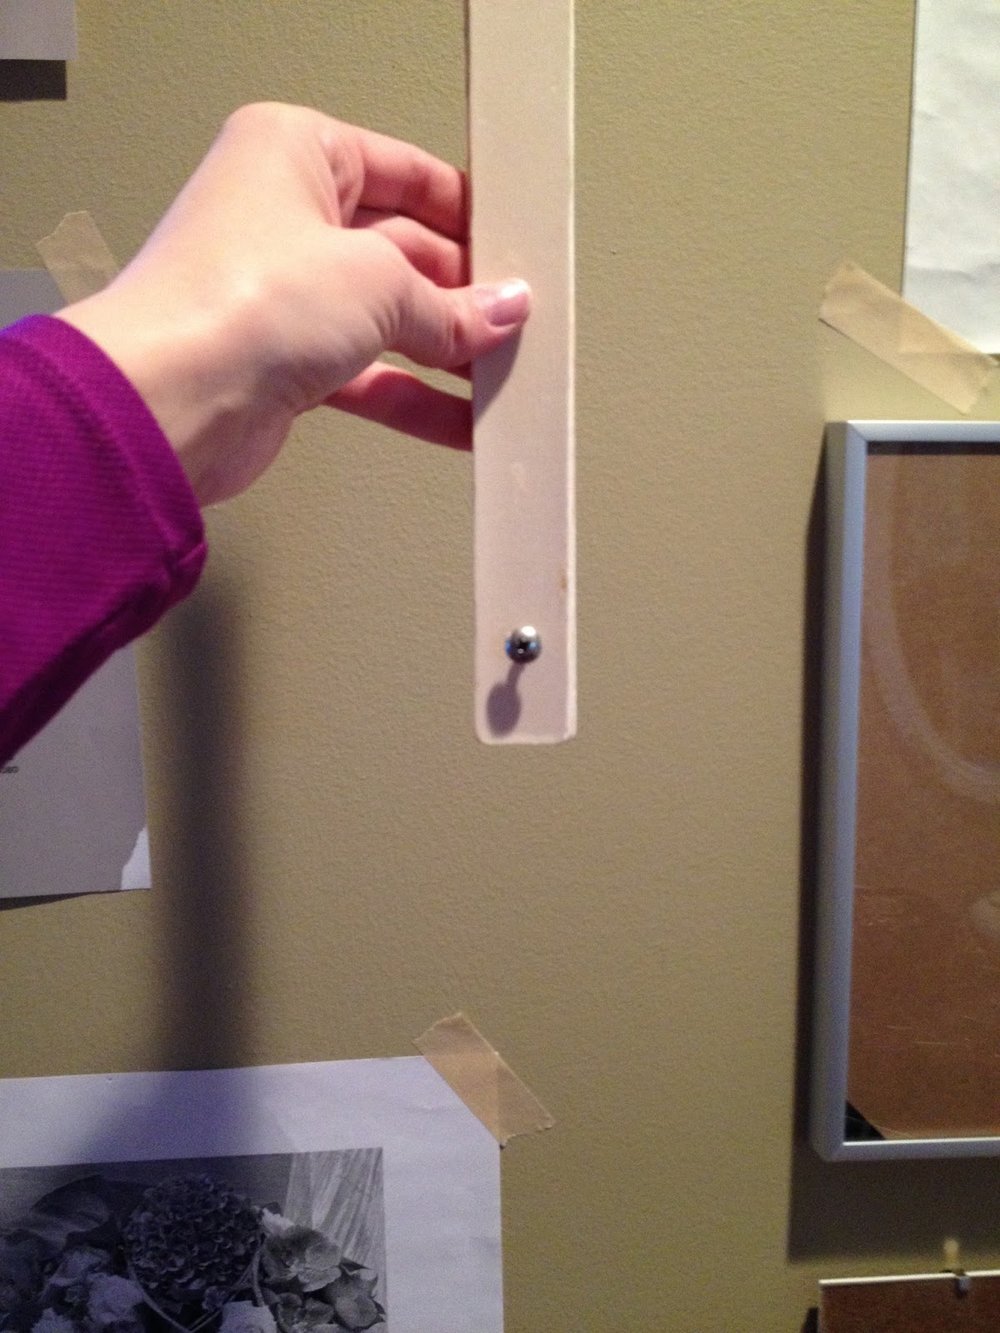

Its basically a paint stick with a nail or screw through the bottom that you can hang your frame on, then mark the wall by applying gentle pressure against the sharp end of the nail. Since I wasn't very pro-active in taking proper pictures on how I did this, Darnetha from Chippa Sunshine made a much better visual on her blog.

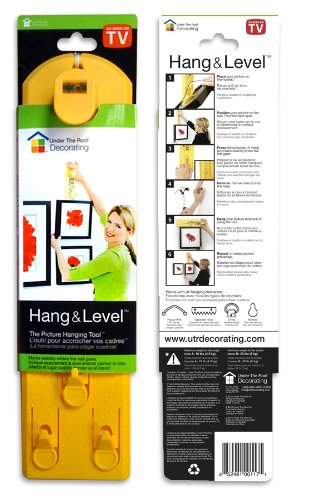
It worked like a charm! Just keep in mind that if you are using a picture hanger to hang your frame, make sure you line the hook portion up with the hole, not the nail. Got it?! Alternatively there's this handy tool, the Hang & Level Picture Hanging Tool that sells for around $10 that also has a level in it. Pure genius.
If you follow these tips, you are guaranteed to have a stress free hanging experience without unnessesary holes in your walls.
Check back next week for my final reveal of my gallery wall! I'm still putting the finishing touches on it, but I'm in love already:) Cant wait to share it with you!

Read the rest of this series!
Have a Design Dilemma?! I'd love to hear about it! I might even end up answering your question on the blog! Email me at sarah@justthebeesknees.com and make sure to put Design Dilemma in the subject line.
New here? Don't miss a thing! Get posts delivered directly to your inbox! Click here to subscribe!