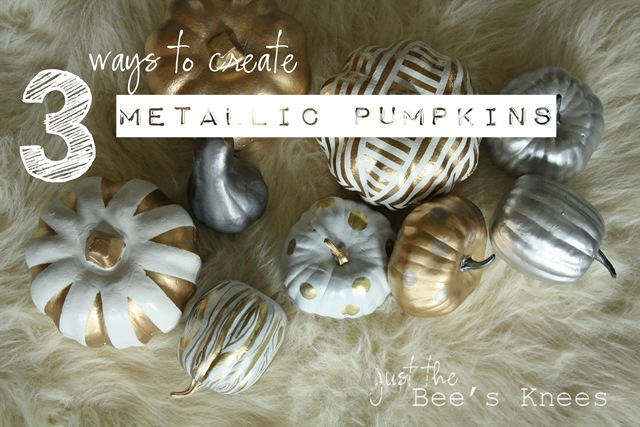
3 ways to create metallic pumpkins
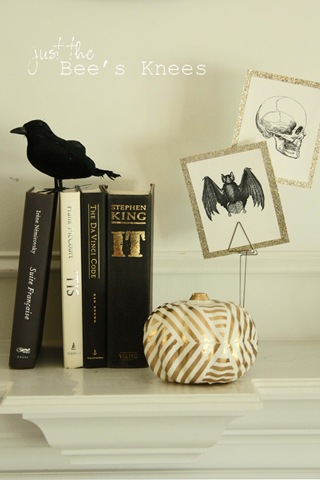
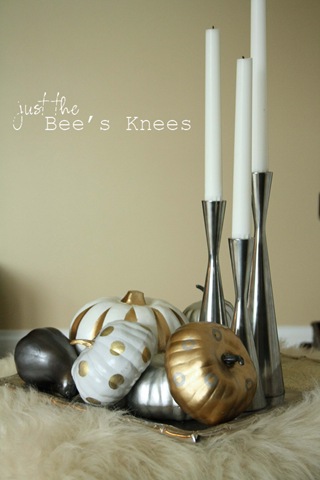
Yesterday I showed you guys my Glam Halloween Mantle, and as promised, today I’m showing you how I created my pretty gold pumpkins.
Last year I picked up a ton of faux pumpkins of different sizes from the dollar store & spray painted them mostly silver and white. This year I’m loving the gold metallic trend, so I decided to gave them a bit of a glam makeover using these 3 super easy methods that I’m sharing with you today!
Method #1. Spray Paint
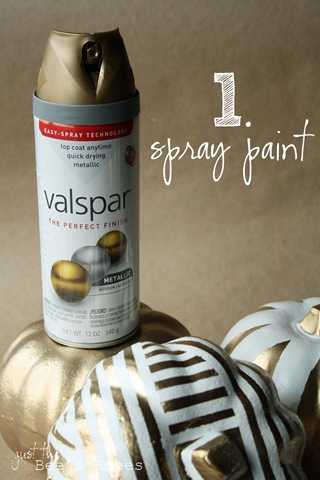
Spray paint is by far the easiest way to makeover just about anything for that matter! I really like the metallic line from Valspar at Lowes, but just about any major spray paint brand should carry metallic paint. You might just have to experiment to find your favorite!
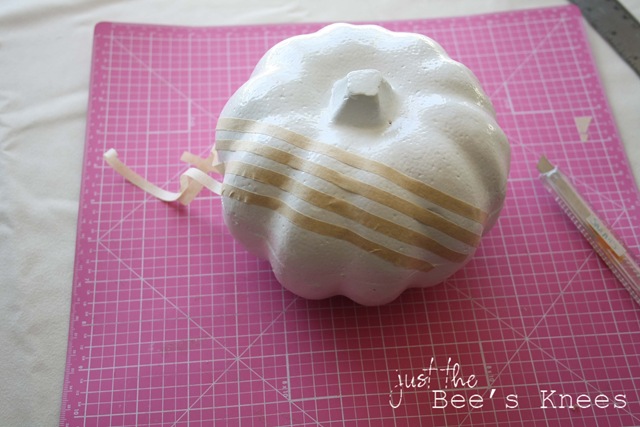
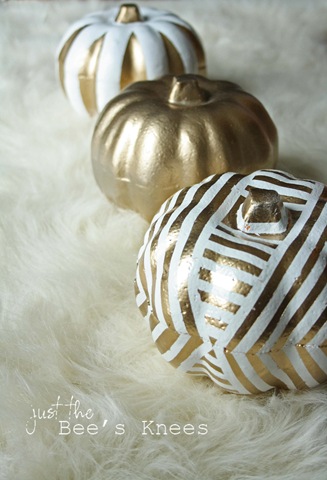
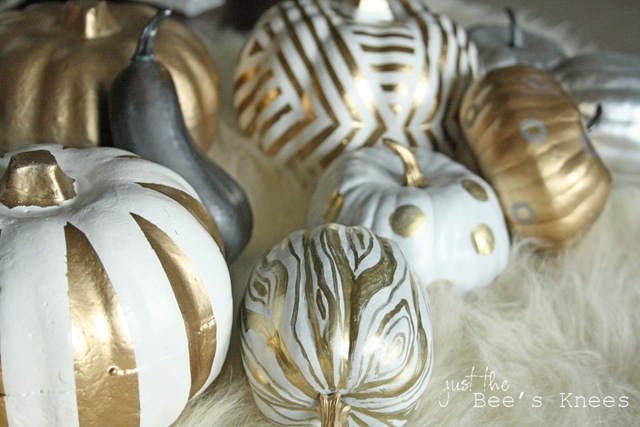
Spray paint the pumpkin your base color first. Once it is dry, apply the tape. I cut the tape into smaller strips using my cutting mat and exacto knife, then laid them in a chevron pattern.
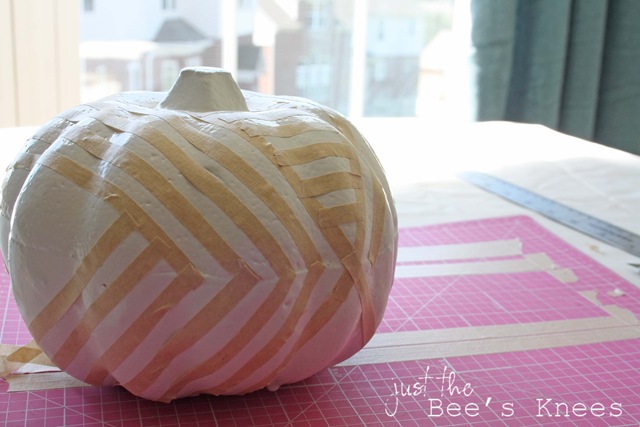
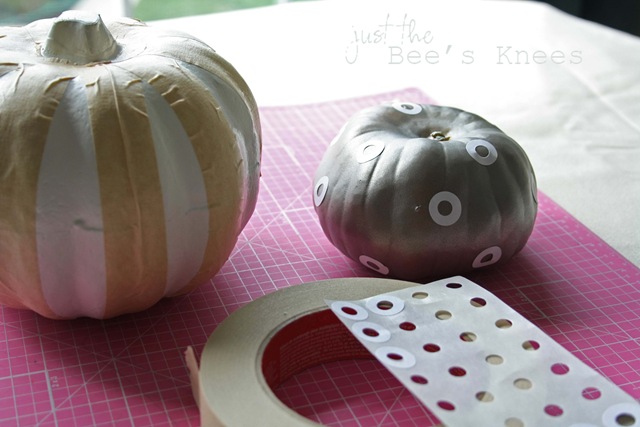
For the stripes and the double ringed polka-dots, I used masking tape and hole reinforcements.
Once you are done applying the tape, make sure you press the edges down really good to ensure nice crisp lines. Spray the entire pumpkin with the metallic spray paint, and when dry, remove the tape and voila!
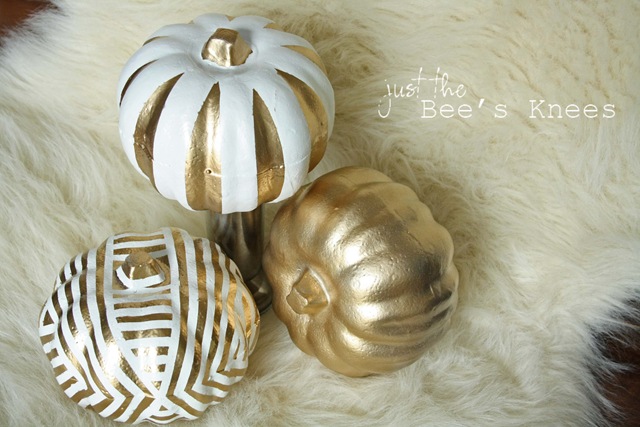
Method #2. Metallic paint pen
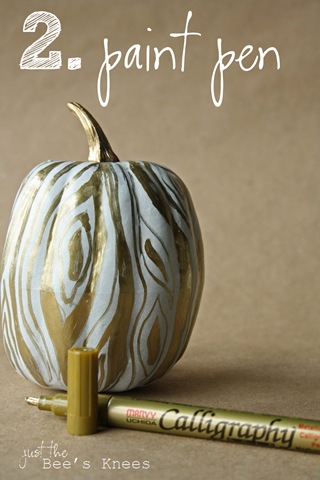
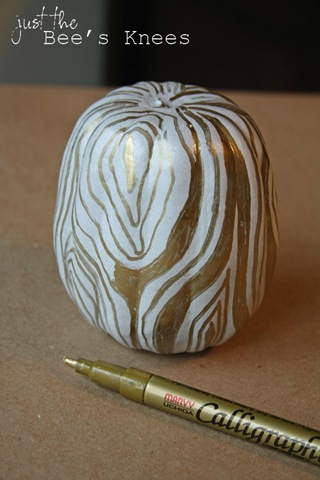
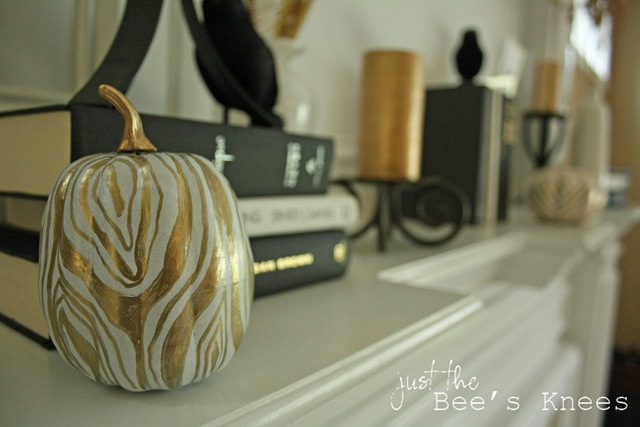
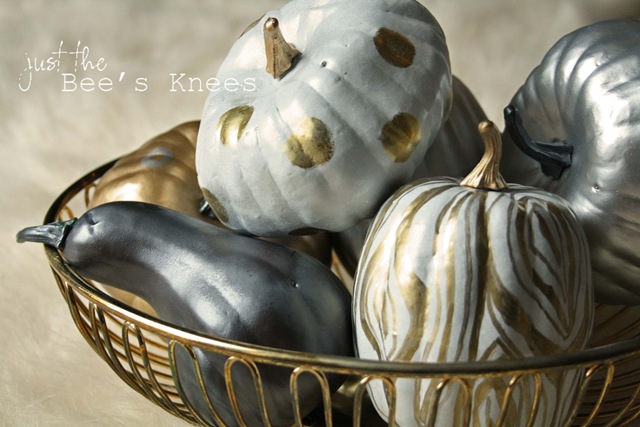
For the faux bois pumpkin, I simply drew the faux bois pattern on with a calligraphy paint pen. I sketched an outline first, then filled in where I saw fit.
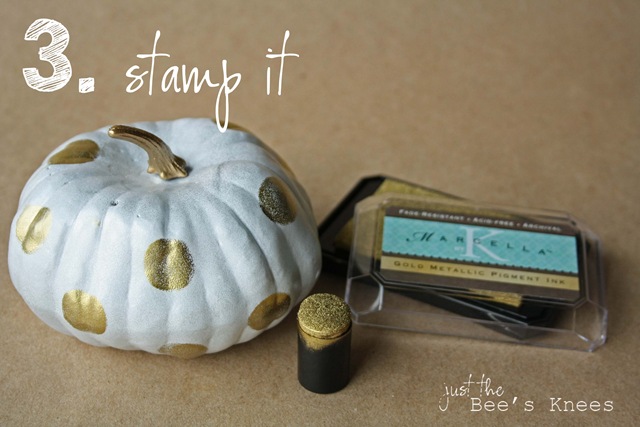
Method #3. Stamp it
And lastly, I created the polka-dot pumpkins simply using a metallic stamp pad and a foam stamper. You could use any stamp you have available. The possibilities are endless! This method is by far the easiest, BUT it does take along time to dry.
So there you have it. Metallic pumpkins, 3 ways. This project cost me $0 as I only used supplies I had around the house.
The thing I love the most about these pumpkins are they can carry you all the way from fall through Halloween and even Thanksgiving.
And if you tire of them next year, simply spray paint them again and start over!
What colors are you using this year to decorate for fall?
Sarah
Sharing With:
It’s Fall Y’all @ Thrifty Decor Chick
Crazy
Cute @ Between U & Me * Hookin'
Up with House of Hepworths @ House
of Hepworths * Doin' It Yourself @ aka
Design * Link Party @ Somewhat
Simple * Transformation Thursday @ The Shabby Creek Cottage
* Delightfully Inspiring @ Delightful
Order * Show off your stuff @ Fireflies and Jellybeans * Flaunt It Friday @ Chic on a Shoestring
Decorating * Frugal Friday @ The
Shabby Nest * Simply Link {Party} @ Simply Designing * Fridays Unfolded @ Stuff and Nonsense * Inspiration
Friday @ The Picket Fence * Weekend Reading @ Serenity Now * Weekend Wrap-up Party @ Tatertots & Jello * Saturday Nite
Special @ Funky Junk
Interiors * Tutorials & Tips @ Home Stories A to Z * Get Your Craft
On! @ Today's Creative Blog
* Show Me What Ya Got! @ Not Just a
Housewife * DIY Project Parade @ DIY Showoff * Transformation
Tuesday @ The Ironstone Nest * Live Laugh Thursdays @ Live Laugh Rowe * Fall Decor Link Party @ Ten June * Friday Flair @ Whipperberry
* Frugalicious Fridays @ Finding Fabulous * The
Humble Brag @ One Project Closer
